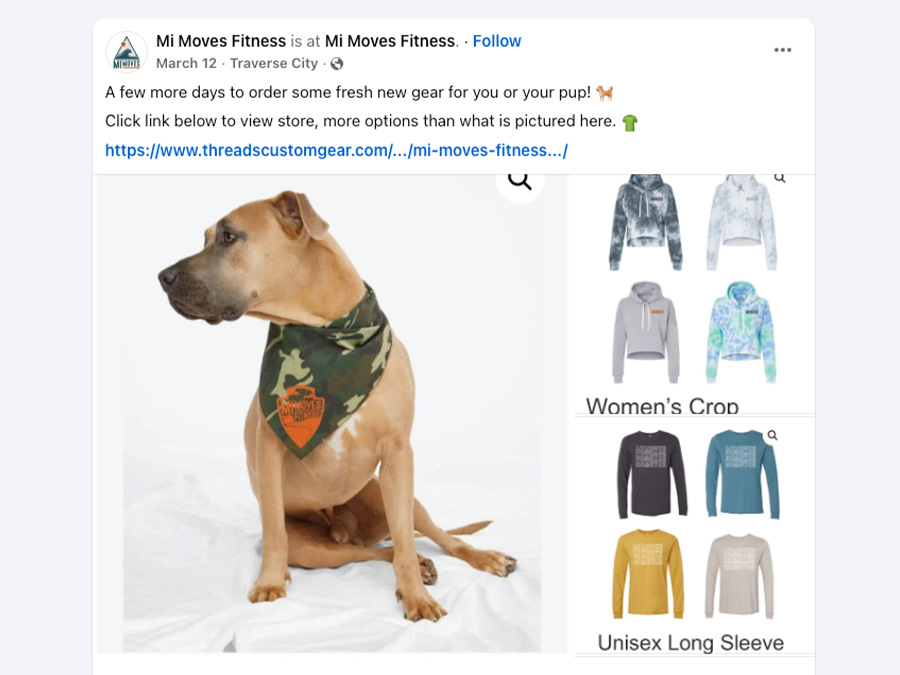
Setting up an online apparel store for your school, sports team, or company swag is a smart way to build brand identity and raise funds or boost team spirit. Here’s a step-by-step guide to help you launch and manage one successfully!
✅ Step-by-Step Process to Set Up an Online Apparel Store
1. Define Your Purpose and Goals
Clarify the “why” behind your store.
- School: Raise funds, promote school pride
- Sports team: Uniforms, fan gear, fundraiser
- Company: Team swag, employee rewards, event merch
🔍 Ask: Who will buy this? Why would they want it?
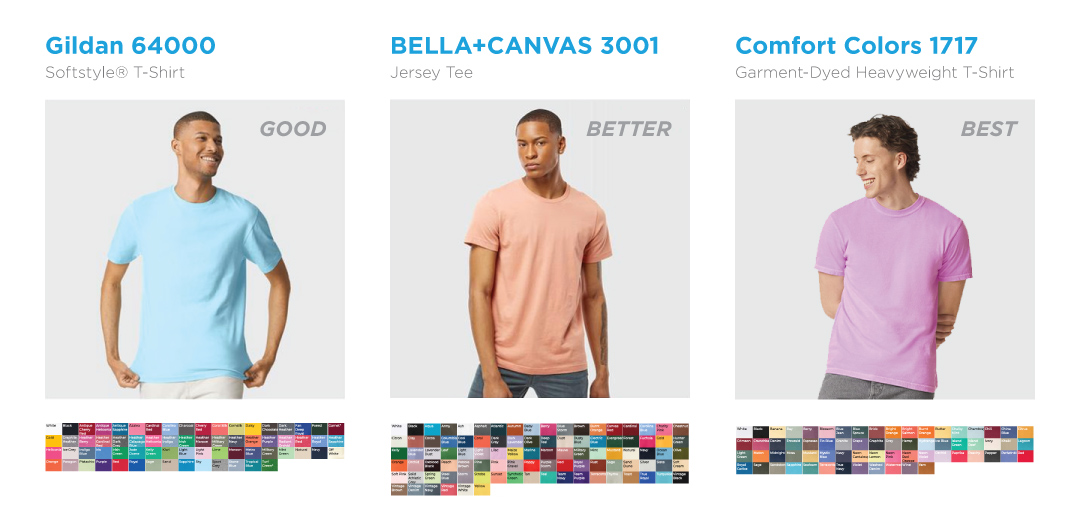
2. Choose Your Products
Pick the types of apparel and accessories you’ll offer.
Common swag items:
- T-shirts, hoodies (Gildan, BELLA+CANVAS, Comfort Colors)
- Hats, beanies (Yupoong Classics, Richardson, Sportsman)
- Polo shirts, jackets (Sport-Tek, OGIO)
- Tote bags, stickers
💡 Tip: Start small—stick to 3–5 best-sellers to launch.
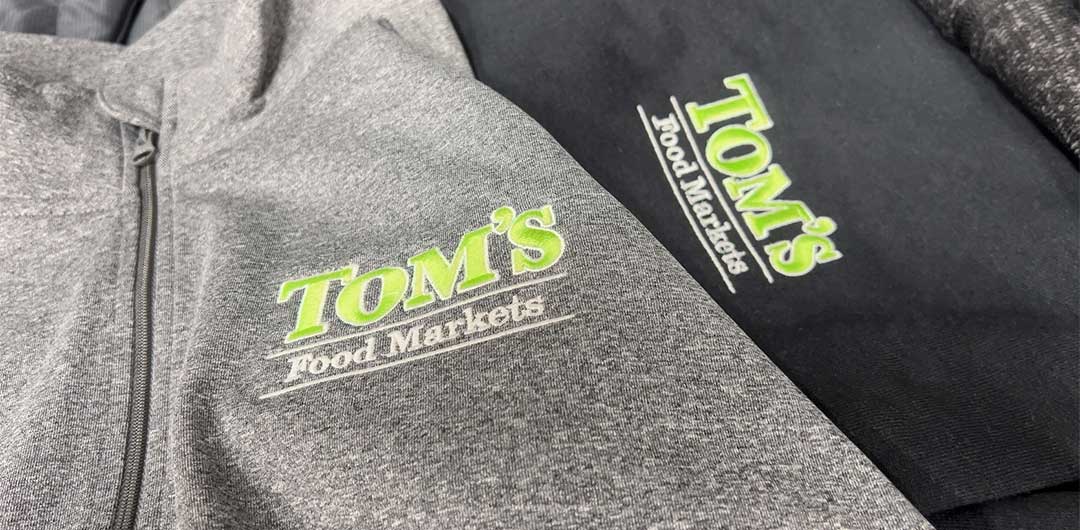
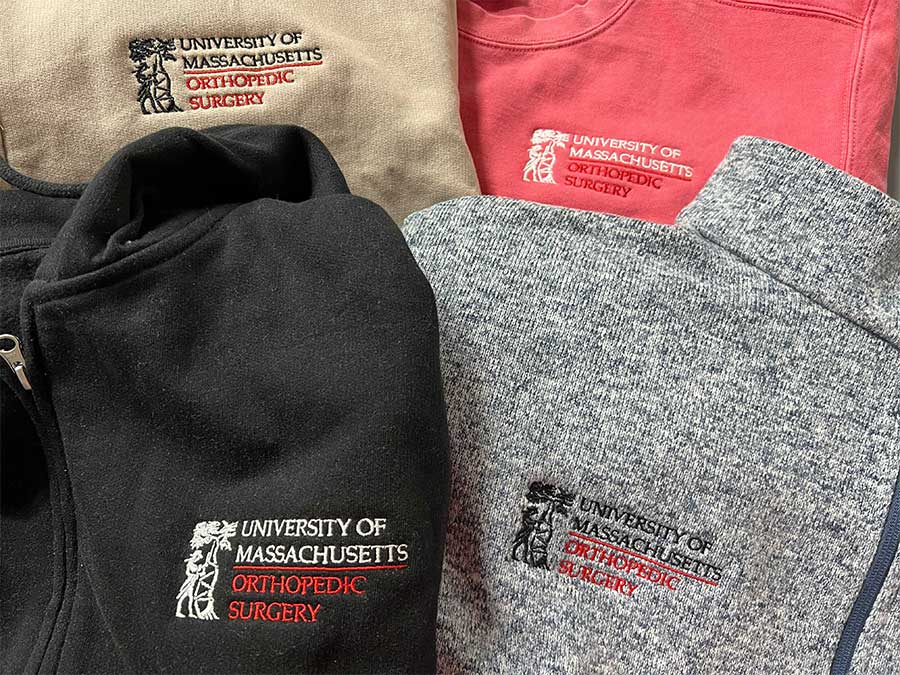
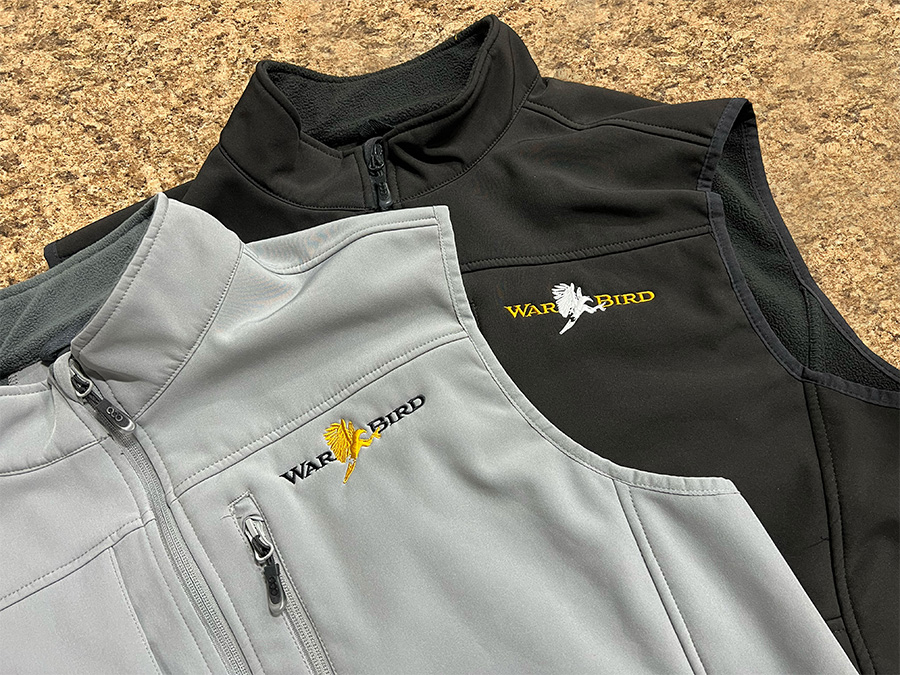
3. Provide your Logo and/or Artwork
Collect your logos, slogans, or artwork you intend to use (preferably in vector format).
For embroidery, new logos will require a one-time setup fee for digitization. For sewn text, letters must be no less than 1/4″ height.
Options:
- Do you have access to your logo and/or artwork?
- Ask your art/marketing department (for schools/companies)
⚠️ Make sure your designs look good on apparel colors and meet print quality standards.
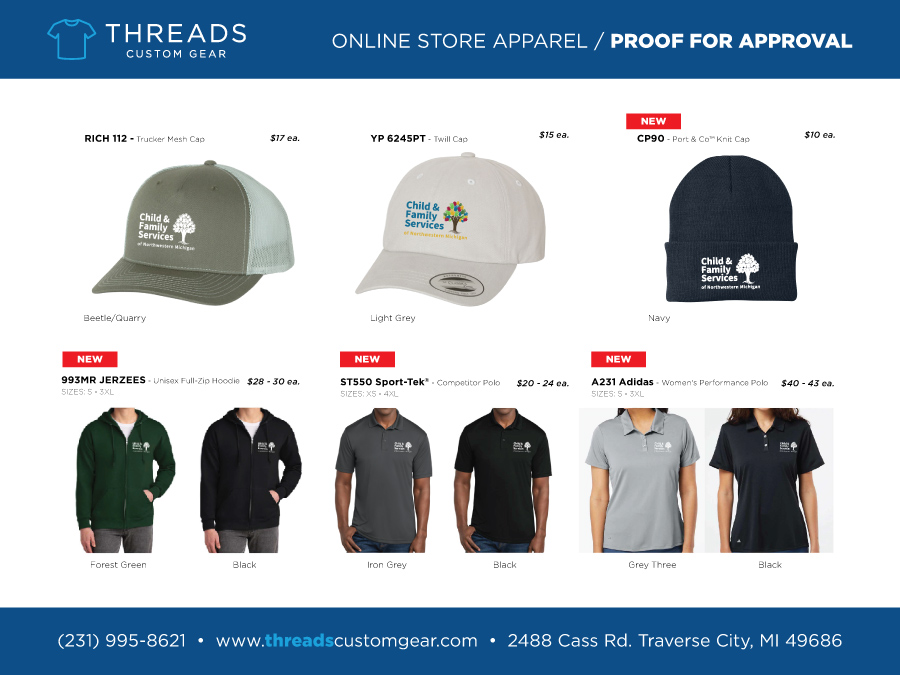
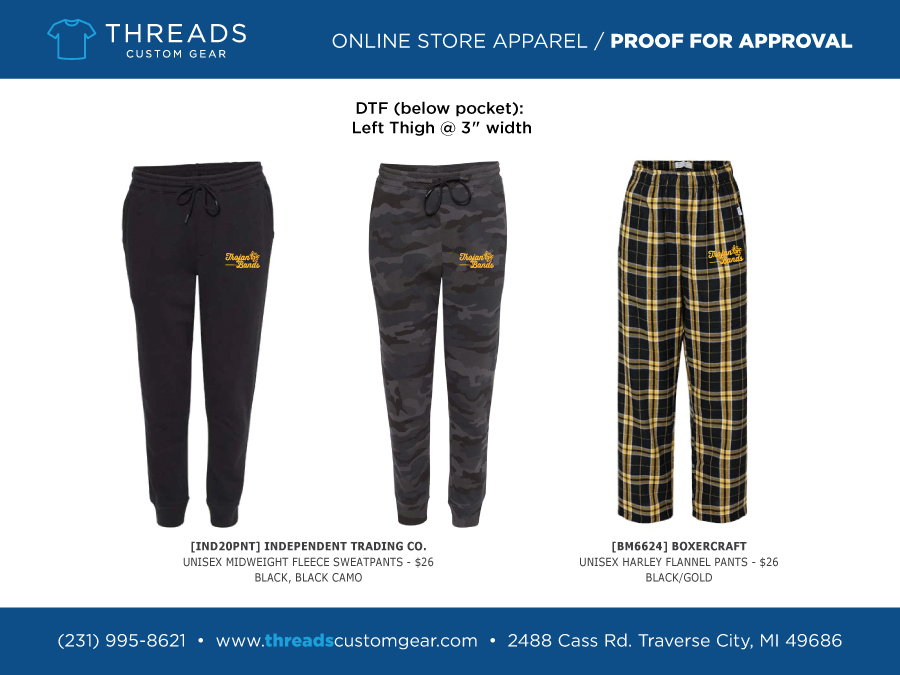
4. Approve Mockups
- Choose your apparel styles & colors
- Ensure all options are in stock
- After the approval of all mockups, preparing the live site can take up to a week
- Please note that product descriptions and sizing guides are provided for all apparel; if you need samples to try on, consider ordering a few standard sizes in advance
💡 Pro tip: Create “collections” for sports teams, departments, or events.
5. Establish Pricing
- Consider the base cost from the supplier plus decoration cost
- Note that sizes XXL+ are additional ($2 for XXL, $3 for XXXL, etc.)
- Are you marking up the price for profit or fundraising?
- Weigh competitive pricing vs. value (is this in line with your customers’ expectations?)
💲 Example: Hoodie base cost $25 → sell for $30 = $5 profit/item
6. Set Order Deadline
- Having your store open between 7 to 14 days is typically enough time for people to place their order, but not so long that it takes forever to receive their gear.
- Stores typically close at midnight (Sunday night is a common choice) and are processed the following morning.
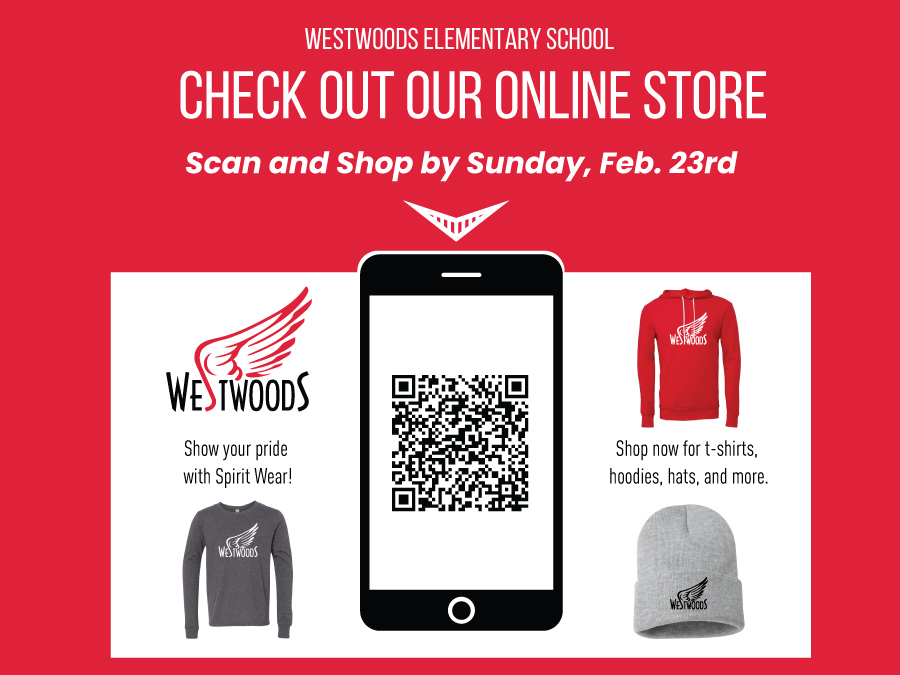
7. Promote Your Store
Use digital channels to drive traffic:
- School/Team/Company email list
- Social media (Instagram, Facebook, LinkedIn)
- Website banners
- QR codes on flyers or posters
- Internal newsletters or Slack posts
- Send out a reminder a few days before deadline
🏁 Create urgency: “Store closes Oct 15!” or “Limited edition gear!”
8. Receive Your Swag
Most orders will require at least two weeks to process from the date the store closes (all apparel is ordered to size ordered and personalized to specification, so there isn’t any need for extras).
- What is the earliest date for distribution?
- Will parents or employees pick up at Threads?
- Will the coach, teacher, or Human Resources be picking up for distribution on site?
- Will most people require shipping?
9. Evaluate & Optimize
After the first round:
- Review sales numbers
- Gather feedback on product quality, design, sizing
- Adjust product offerings, pricing, or designs
🔁 Relaunch with improvements for the next round.
🎉 Summary Checklist
✅ Set goals
✅ Choose products
✅ Create designs
✅ Launch your store
✅ Promote it
✅ Collect orders
✅ Fulfill & support customers
✅ Analyze results